How to animate a screenshot
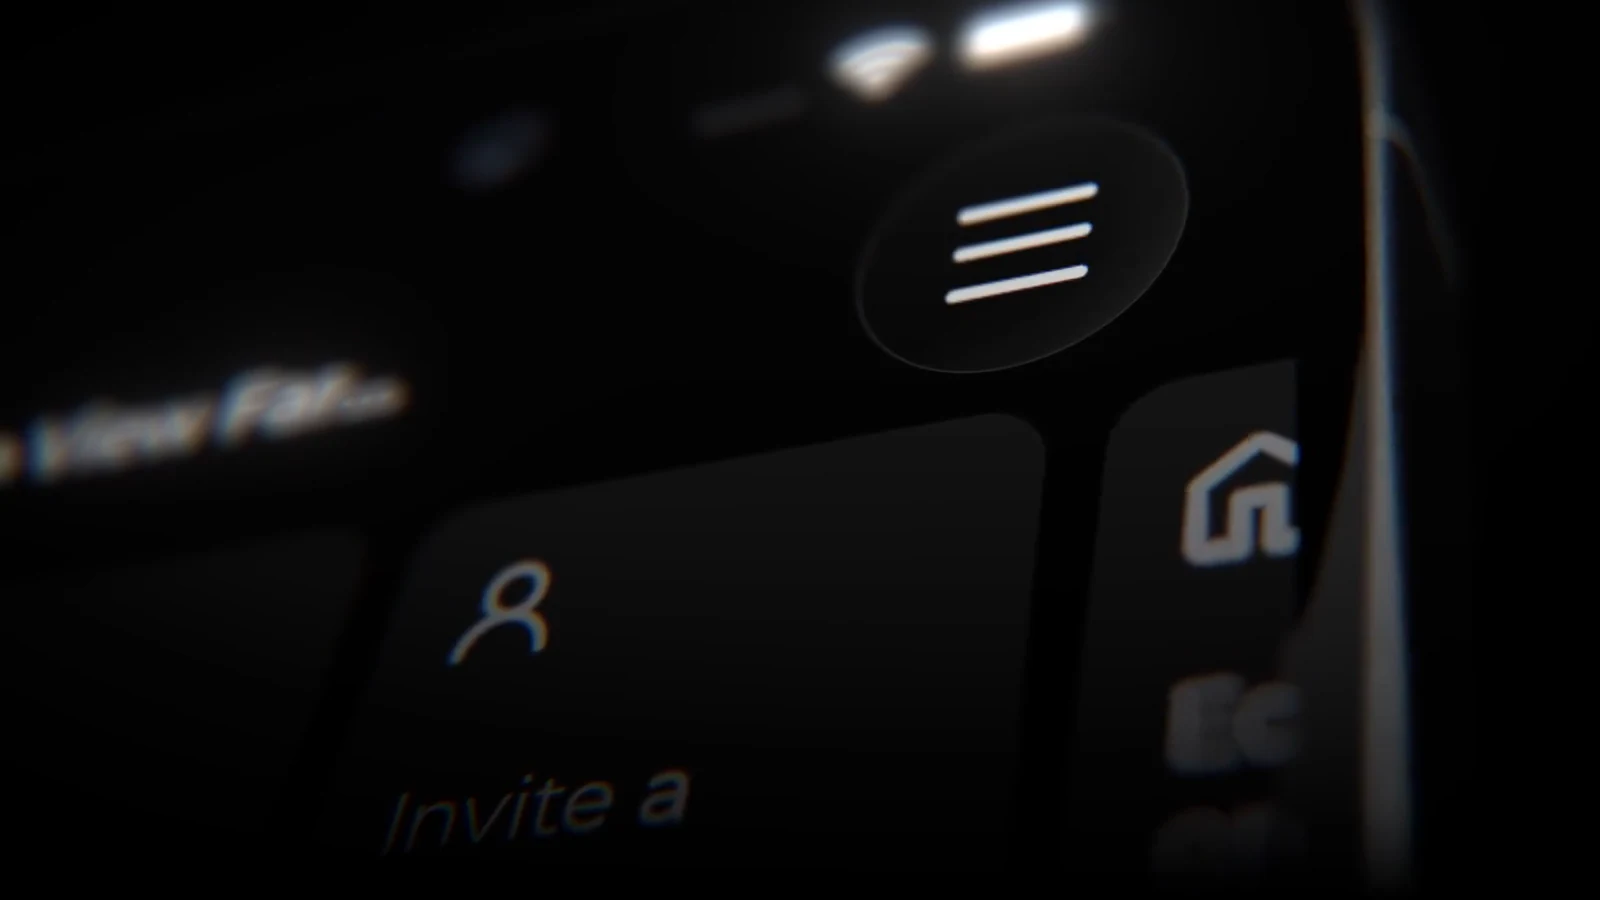
A screenshot is the cheapest asset you have and the least watched. Five minutes in Raylight turns it into a shot: the same image, but with depth, motion, and focus doing the selling. Here is the fastest route.
1. Paste it in
Drop the screenshot onto the canvas, or paste a frame straight from Figma. It becomes a layer in a scene, not a flat background, and that distinction powers everything below.
2. Build a little depth
Motion over one flat image is just panning. The trick that makes a screenshot feel filmed is separation:
- Duplicate a key element of the screenshot, a button, a card, a chart, crop the copy down to just that element, and float it slightly in front of the original.
- Add a text layer with your headline in front of everything.
- Two or three layers of depth is enough. This is a shot, not a diorama.
3. Add one camera move
Dolly slowly toward the element you floated forward. As the camera travels, the layers slide against each other and the image reads as a space instead of a picture.
- Ease into and out of the move.
- Hold still for a moment at the start and end. The pause makes the loop point invisible if you plan to loop it.
4. Let focus do the pointing
Set focus on your floated element and let the base screenshot soften behind it. Depth of field is the difference between showing a screen and directing attention to one thing on it.
5. Export
MP4 for the site and social, GIF for docs and the changelog. Both export on the free plan at 1080p; paid plans go up to 4K.